Grok Build for design.
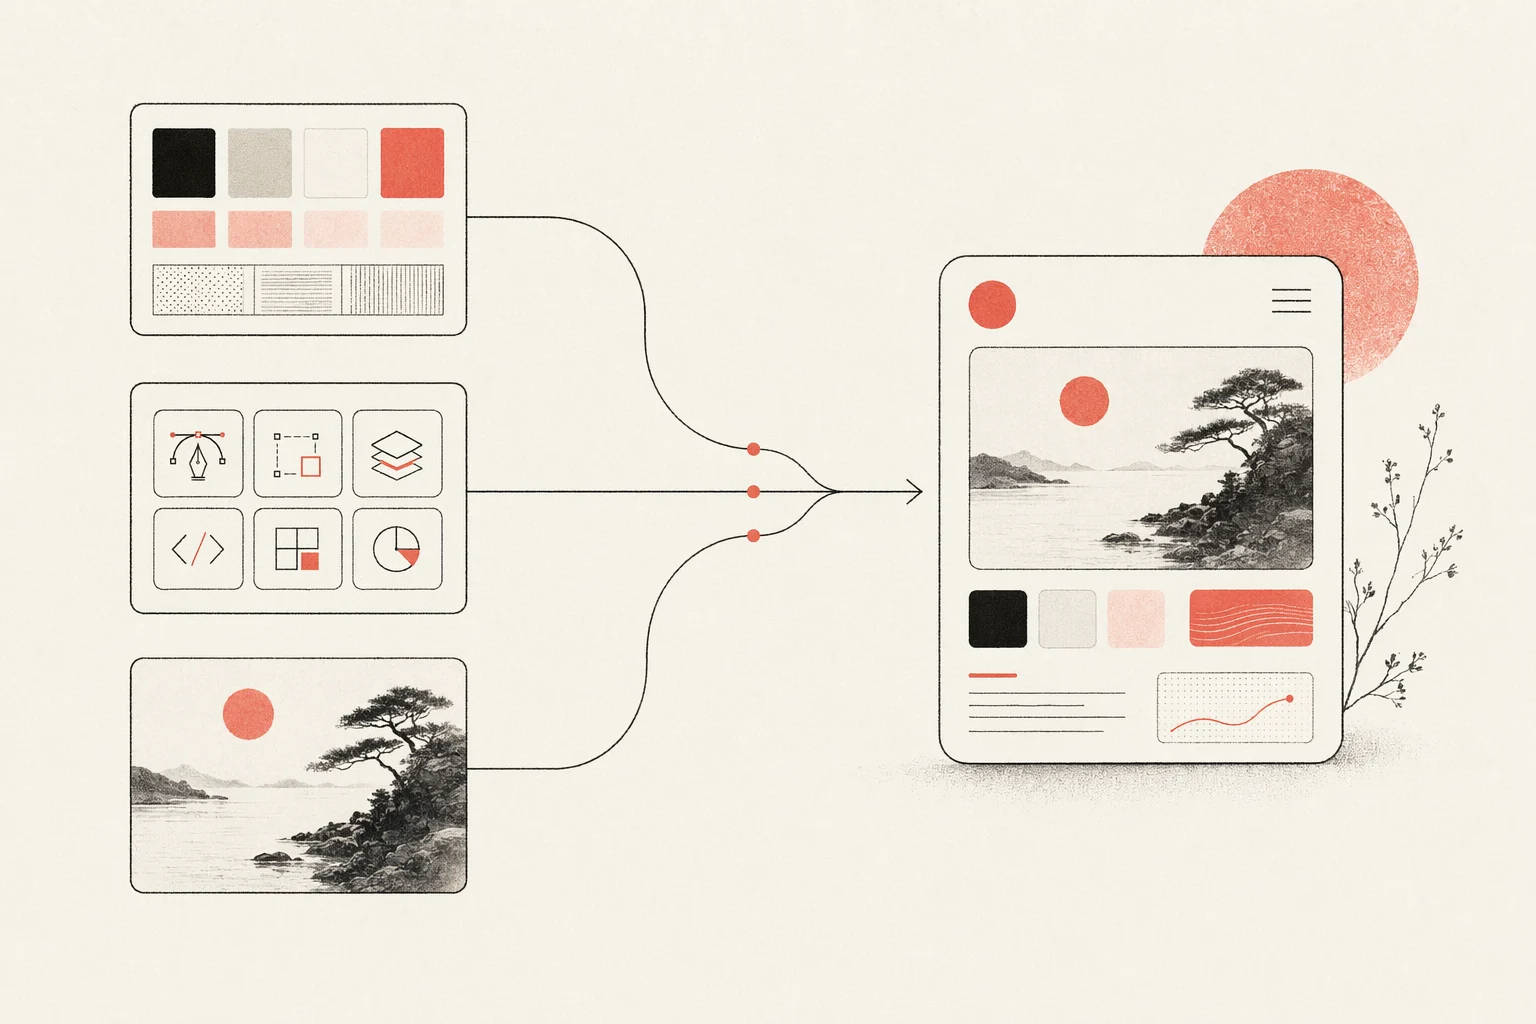
Grok Build is xAI's terminal coding agent. It plans multi-step work before it touches your files, reads images alongside code, and runs the build-and-verify loop in your repo — which makes it a real design tool once you give it references, conventions, and a verification step. Open Design wires it into an open-source design workflow: your SuperGrok login or xAI API key, your files, local-first.

Open Design turns Grok Build into a local-first, open-source design agent — your SuperGrok login or xAI API key, your files, a curated skill and design-system library around it.
Grok Build — xAI's terminal coding agent, shipped as Grok Build — is an agentic tool that lives in your terminal. Two things make it interesting for design specifically: it plans risky work before it acts, so you can review a proposed approach before any files change; and its Grok models accept image input, so it can reason about a reference screenshot alongside the code it is writing. Paired with the right references, conventions, and a verification loop, it builds real, responsive UI — authenticated straight through your SuperGrok or X Premium+ account, no API-key juggling required. This is a practical, end-to-end guide to using Grok Build for UI, frontend, and design-system work, and to wiring it into a structured design workflow with Open Design.
It covers what Grok Build actually is, why plan mode and image-aware models fit design, how to set it up from zero, the screenshot-to-UI loop, how AGENTS.md and MCP extend it, how it compares to Codex, Claude Code, Cursor, and Gemini CLI, the pitfalls that make AI output look generic, and how Open Design closes the gap as an open, local-first design layer — your credentials and artifacts never leaving your machine.
What Grok Build actually is
Grok Build is xAI's terminal coding agent, shipped under the name Grok Build. It reads your repository, edits files, runs shell commands, and plans multi-step engineering work from natural-language tasks rather than just completing lines. It is built around xAI's Grok models — exposed on the xAI API as the grok-build model family — and authenticates through your xAI account, so the agent and the models come from the same vendor.
For design work, two properties stand out. It has a plan mode that drafts a structured approach you can approve, comment on, or rewrite before any change lands — a useful gate when you are iterating on UI. And its Grok models accept image input, so you can hand it a reference screenshot and it reasons about the actual layout instead of guessing from a prose description.
- Context files: Grok Build reads an AGENTS.md file for persistent project context — the natural place to encode your design conventions, tokens, and review checklists. It follows the same open AGENTS.md convention that Codex and other agents use.
- Tools, MCP + subagents: It edits files, runs shell commands, and supports MCP servers to add external context like a live Figma file; for larger tasks it can delegate to parallel subagents that research, build, and review at once.
- Sign in with your account: You authenticate by signing in through your browser with a SuperGrok or X Premium+ subscription; you can also bring an xAI API key for headless and CI use.
- Vendor: xAI
- Credential: xAI SuperGrok OAuth (`grok login`), or an xAI API key (BYOK) for headless use
- Models: xAI Grok models (the grok-build family on the xAI API), with image input
Why plan mode and image-aware models fit design
Grok Build's design edge comes from two properties — but, as with every agent, taste still has to be supplied.
- Image-aware reasoning: Because Grok models accept image input, the agent reads reference screenshots — comparing its rendered output back to an image instead of guessing from a prose description.
- Plan mode before changes land: Plan mode drafts a structured approach you approve before files change, so design intent is reviewed up front instead of discovered after the diff.
- Conventions in AGENTS.md: An AGENTS.md (plus the Figma MCP server) points the agent at your tokens, components, and real specs, so it works against a brand instead of a default look.
The lesson is the same one every agent teaches: Grok Build does not have taste by default. It produces good design when you give it constraints — a design system, an aesthetic skill, and concrete references. Open Design packages exactly those inputs, which is why the two fit together (more below).
Set up Grok Build for design work, from zero
Here is the full path from a clean machine to a Grok Build that can build and verify UI.
# 1. Install Grok Build (Grok Build) on macOS/Linux
curl -fsSL https://x.ai/cli/install.sh | bash

# 2. Start it in your project and authenticate on first run
cd your-project
grok login   # opens your browser; sign in with SuperGrok / X Premium+
#   or, for headless / CI use, set an xAI API key:
#   export XAI_API_KEY=xai-...

# 3. Add project context
#    create an AGENTS.md at the repo root with your design conventions

# 4. Wire the Figma MCP server (optional, for design handoff)
#    add it to your MCP server configuration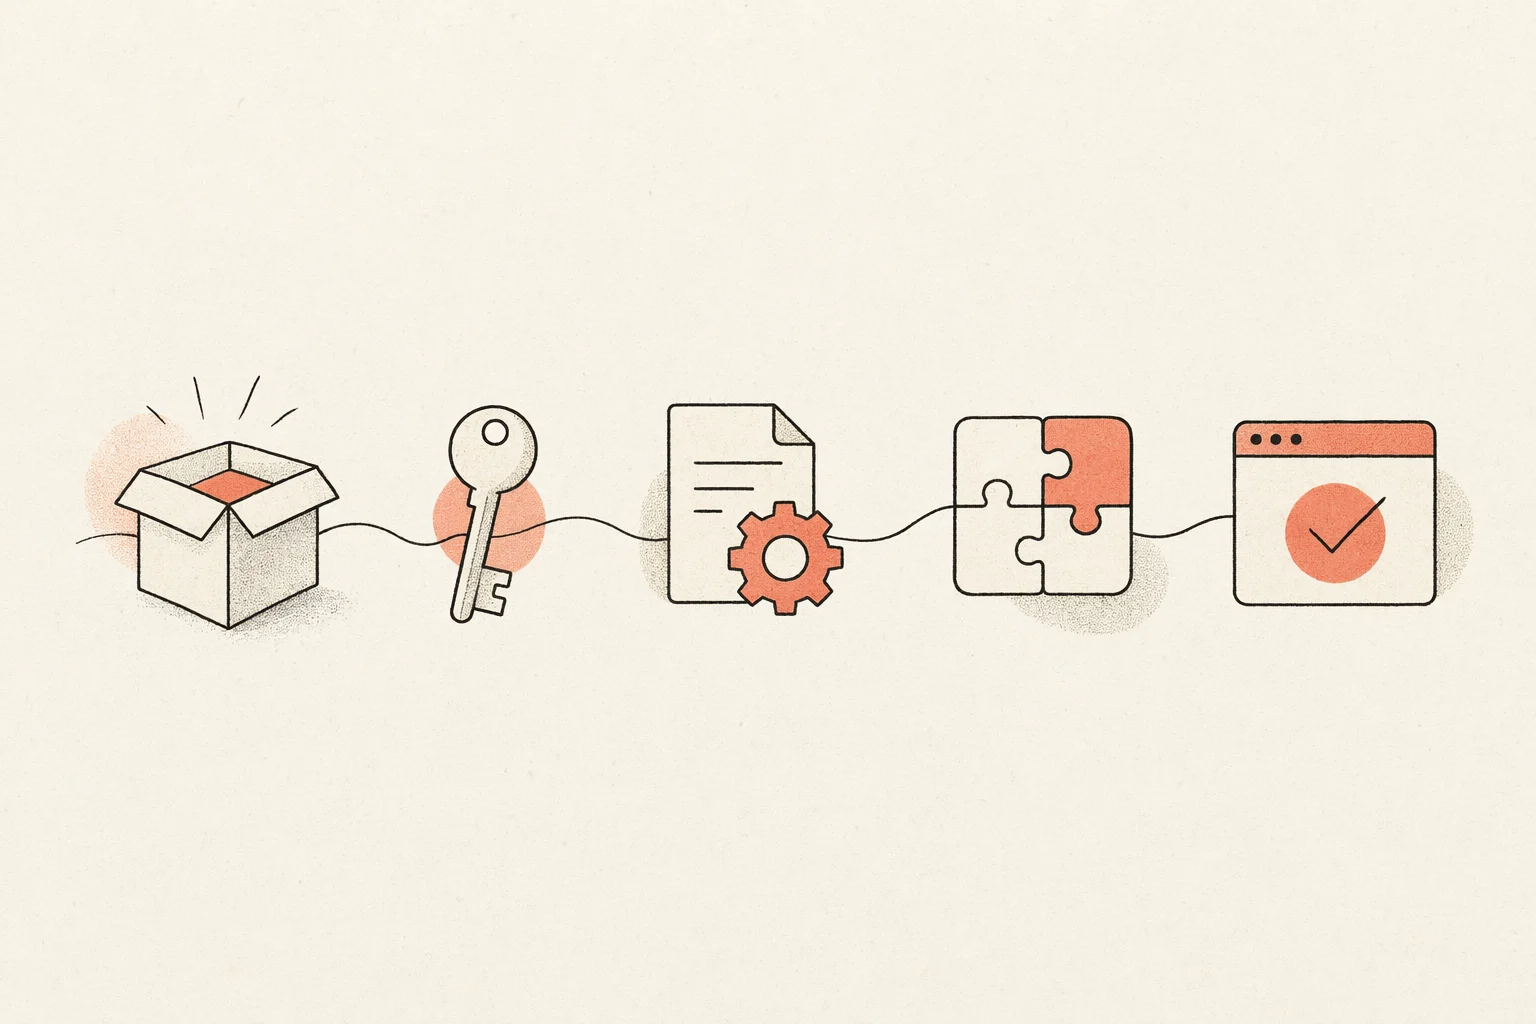
- Encode your design rules: Put your tokens, primitives, and conventions in AGENTS.md and point Grok at them, so output matches a brand instead of defaulting to a generic look.
- Add browser verification: Wire a Playwright or browser MCP so Grok renders in a real browser and checks its output across breakpoints instead of only confirming the build passes.
The screenshot-to-UI workflow
The highest-leverage design loop with Grok Build is turning a reference image into working, responsive UI and iterating until it matches — leaning on plan mode to agree on the approach and the image-aware model to compare output back to the reference.
- Start from the clearest visual references you have — and include multiple states (desktop and mobile, hover, empty, loading), not just one hero shot.
- Be specific in the prompt; vague prompts produce generic UI even with a strong model.
- Keep your design system and conventions in AGENTS.md, and tell Grok where the tokens and canonical primitives live.
- Use plan mode to review the approach, then run a dev server and have Grok render in a real browser, resizing to breakpoints to check the result.
- Iterate by having Grok compare its implementation back to the screenshots — not merely confirm it builds.
Attach your reference images and give concrete constraints:
grok
# in the prompt (attach reference-desktop.png and reference-mobile.png):
> Implement this design in React + Vite + Tailwind + TypeScript.
  Reuse my existing design-system components and tokens from AGENTS.md.
  Match spacing, layout, and hierarchy; make it responsive.
  Show me the plan first, then render it in the browser and iterate
  until it matches the references across breakpoints.
Keep prompts small and focused, commit good iterations and revert bad ones (telling Grok when you revert), so each pass builds on a clean base.
AGENTS.md, MCP, and subagents
Three extension points make Grok Build practical for sustained design work, and all three map cleanly onto an open design workflow.
- AGENTS.md context: Project rules live in an AGENTS.md at the repo root. It is the durable home for your design conventions, read on every run — and it is the same open format other agents understand, so the rules travel with you.
- MCP servers: Configure MCP servers to bring in design context and external tools, most relevantly the Figma MCP server — the portable way to feed real specs into code, that works across agents, not just Grok.
- Subagents and built-in tools: Grok Build can spawn parallel subagents to research, build, and review at once, and its file, shell, and search tools let it gather references and run the verification loop without leaving the terminal.
These are portable, multi-agent capabilities — exactly the kind of thing Open Design is built to orchestrate, rather than re-create per project.
Grok Build vs Codex vs Claude Code vs Cursor vs Gemini CLI for design
There is no single winner for design work — each agent has a different strength, and experienced teams stack them. A fair summary:
| Agent | Design strength | Best for |
|---|---|---|
| Grok Build | Plan-mode review before changes land, image-aware Grok models, and parallel subagents; signs in with your SuperGrok account | Reviewed, plan-first UI builds with xAI models in the loop |
| Codex | Strong visual polish with a frontend skill; sandboxed async builds | Delegated async builds and portable AGENTS.md rules |
| Claude Code | Specific design decisions (hex, spacing, type) and codebase-aware UX | Frontend reasoning and large-context refactors |
| Cursor | Visual build-and-see loop with live preview and inline edits | Tight iterate-and-watch UI work inside an IDE |
| Gemini CLI | Strong multimodal image understanding and a very large context; open-source with a free tier | Screenshot-heavy work and holding a whole design system in context |
The recurring community verdict is that taste comes from humans: all of them default to a generic aesthetic without skills, references, and constraints. That is the real problem to solve — and it is design-tool-shaped, not model-shaped.
Pitfalls, and how to avoid the “AI slop” look
The most common complaint about AI-generated design is that it looks generic — soft gradients, floating panels, oversized rounded corners, dramatic shadows, an Inter-and-purple vibe that “screams an AI made this.” Other reported issues include broken mobile layouts and instructions leaking into UI copy. None of these are unique to Grok Build; they are what happens when any agent runs without a curated design context.
- Add an aesthetic skill: A curated design skill forces the agent to commit to a real direction instead of the default look.
- Verify in a real browser: Render and self-check across breakpoints so layouts do not silently break on mobile.
- Supply tokens and references: Real design tokens and reference screenshots are the single biggest lever on output quality.
- Encode rules in AGENTS.md: Put “no hero cards, max two typefaces, brand-first hierarchy” style rules where the agent reads them every run.
Notice that every mitigation is about giving the agent a curated design context. Maintaining that context by hand, per project, is the toil Open Design removes.
Designing with Grok Build inside Open Design
Open Design is the open-source design layer the workflow above keeps asking for. It treats Grok Build as a first-party adapter and wraps it in a curated skill and design-system library, a structured render pipeline, and a local desktop UI — so the design context that makes Grok good is there from the first run, not assembled by hand each time. Open Design is independent and Apache-2.0, and it runs on your own machine, which makes the pairing a natural fit.
- Install Open Design and select Grok Build as your agent.
- Authenticate with your SuperGrok account or an xAI API key (BYOK) — credentials stay on your machine and are never proxied through us.
- Pick a design system and a skill, then generate decks, prototypes, and landing pages with consistent taste.
- Every artifact and DESIGN.md file lives in your own repo, not a hosted cloud.
Same Grok Build agent, same credentials — plus a real, portable, open-source design workflow around it. It is local-first and Apache-2.0, so nothing about your work or your credentials leaves your machine.
Frequently asked questions
-
01 Can Grok Build really do design work?
Yes — with an aesthetic skill, a design system, and real reference images in context, Grok Build produces production-quality, responsive UI, and its image-aware Grok models help verify output against references. Without that context it tends to default to a generic look, which is the gap Open Design fills.
-
02 How do I authenticate Grok Build?
You sign in through your browser with a SuperGrok or X Premium+ subscription (`grok login`), so there is no API key to manage. For headless or CI use you can bring an xAI API key instead. Open Design never proxies your credentials either way.
-
03 What makes Grok Build good for design specifically?
Two things: its plan mode lets you review the approach before any change lands, and its Grok models accept image input, so it reads reference screenshots well. Both help — but taste still comes from the design system, skill, and references you supply.
-
04 Grok Build or Claude Code for frontend design?
Both are strong. Claude Code is known for specific, codebase-aware design decisions; Grok Build's edge is plan-mode review and image-aware xAI models. Many teams use both — Open Design lets you switch agents without changing your design workflow.
-
05 How do I connect Grok Build to Figma?
Add the Figma MCP server to your MCP configuration. Grok can then pull real design context — components, variables, layout data — so the generated code matches the source instead of approximating it.
-
06 Is Open Design affiliated with xAI?
No. Grok Build is a product of xAI; Open Design is an independent open-source project that supports it as a first-party adapter. Grok is a trademark of xAI.
-
07 Are my files and credentials safe?
Yes — Open Design is local-first and Apache-2.0. Your files, artifacts, and DESIGN.md stay in your own repo, and your xAI credentials are used directly by your agent, never routed through Open Design servers.
Design with Grok Build, the open way.
Bring your own SuperGrok account or xAI API key, keep every file local, and get a curated design library around the agent you already use.